
 ελληνικά
 Español
 Română
 български език
Wall Preparation
Prepare the installation surface correctly to achieve secure adhesion, clean panel alignment and a professional long-lasting finish.
The final result starts with the wall beneath
Even high-quality wall panels depend on a properly prepared installation surface. Dust, grease, moisture, loose material and significant unevenness may reduce adhesion or remain visible after installation.
Inspect the entire wall before measuring and applying adhesive. Correcting problems at this stage helps avoid installation delays and unnecessary material waste.
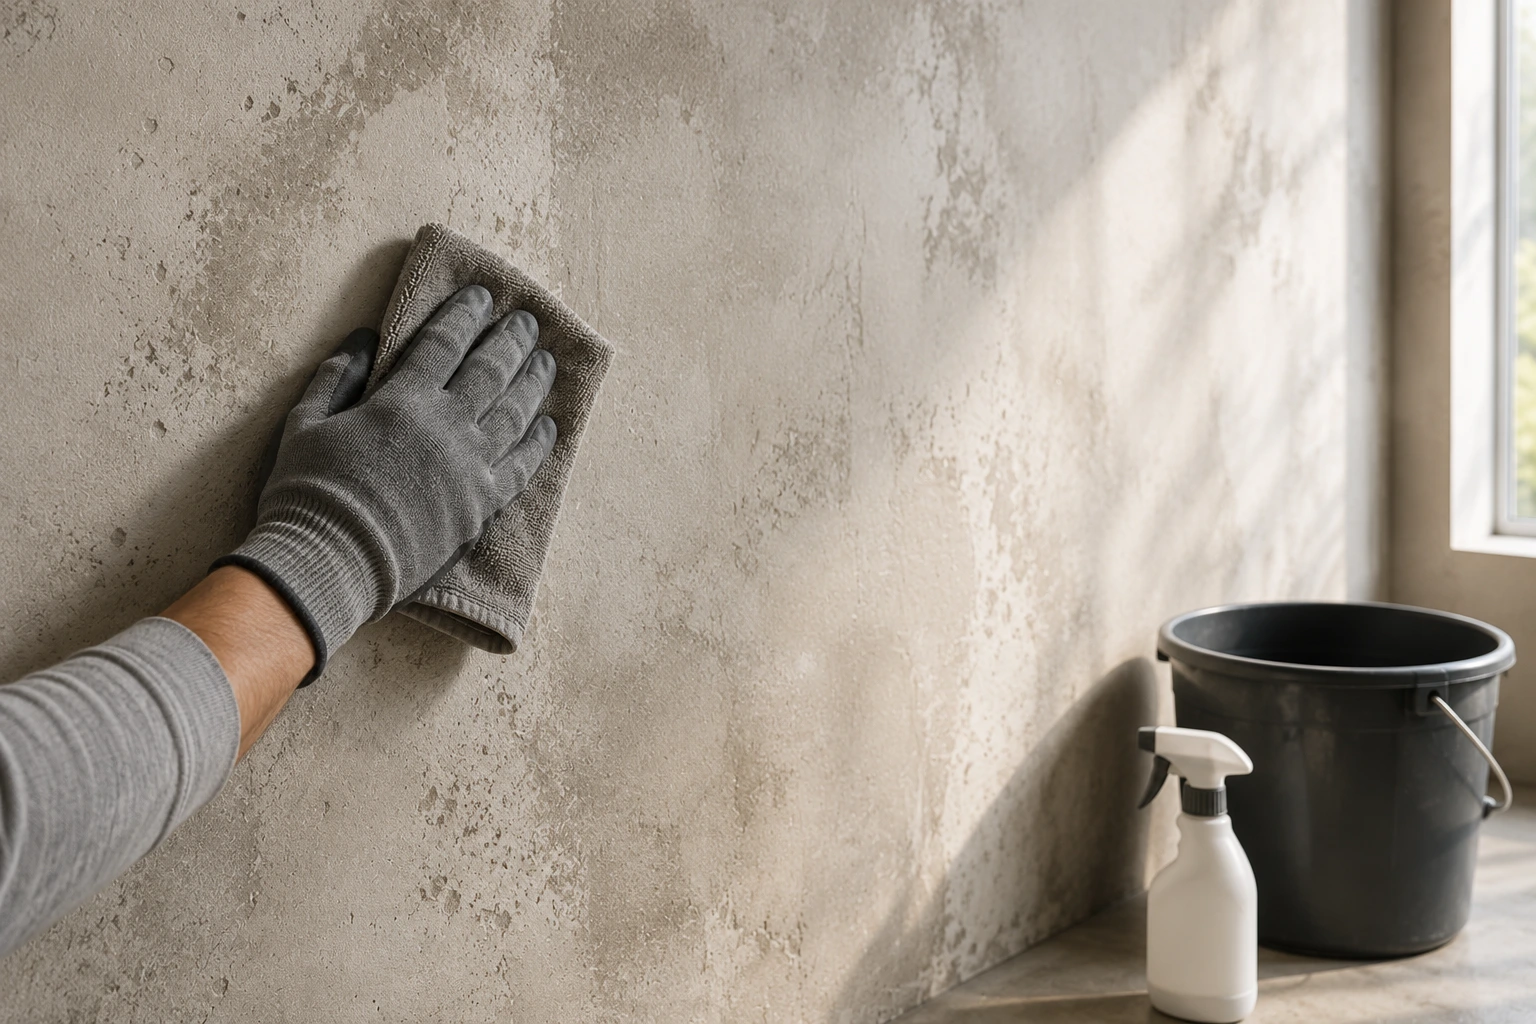
Prepare the wall methodically
Complete these checks before cutting panels or opening the adhesive.
Clean the Surface
Remove dust, grease, soap residue and loose particles using suitable cleaning methods.
Repair Imperfections
Fill cracks, holes and damaged areas and allow repair materials to dry completely.
Ensure the Wall is Dry
Repair active moisture, leaks and structural dampness before installation.
Check Flatness
Correct significant bumps, hollows and uneven areas that could affect alignment.
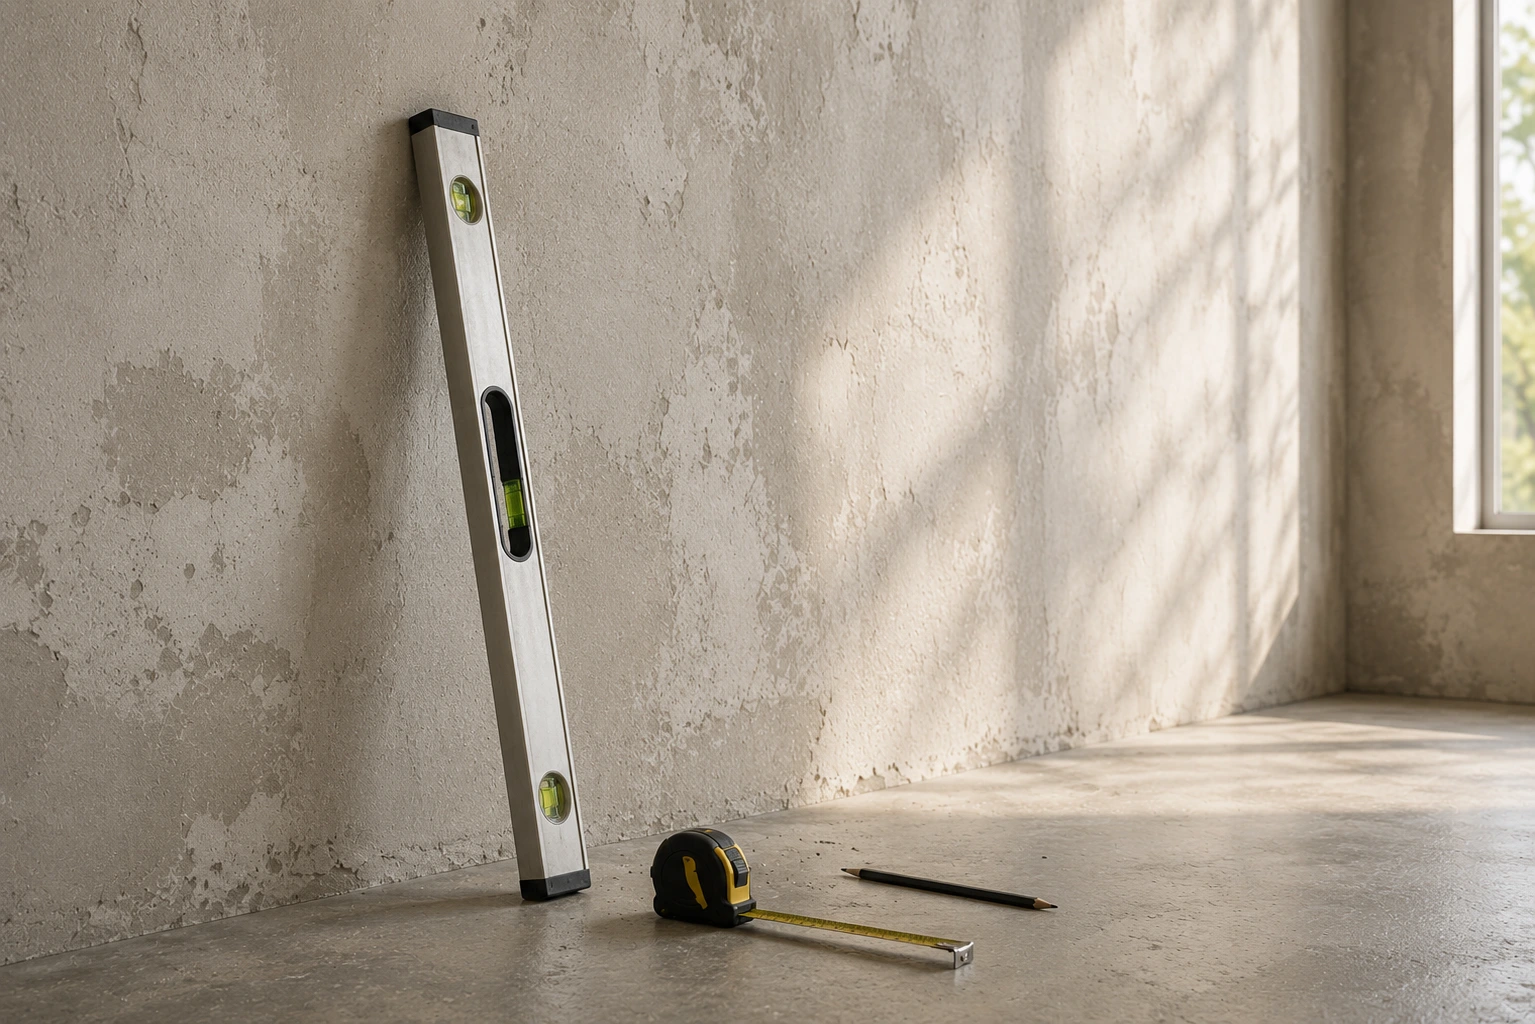
Wall preparation checklist
Begin installation only after confirming that the complete surface is ready.
- The wall is clean and free from contamination
- The surface is completely dry
- Cracks, holes and damaged areas are repaired
- Loose paint, plaster and tiles are removed
- The wall is stable and sufficiently flat
- Openings and electrical points are measured
- The correct adhesive has been selected
Avoid problems before installation begins
Small preparation errors can affect adhesion, alignment and the final appearance of the panels.
Prepare the wall, then choose your design
Explore the complete collection of wall cladding panels in 122 × 280 cm format.
View Wall Panels